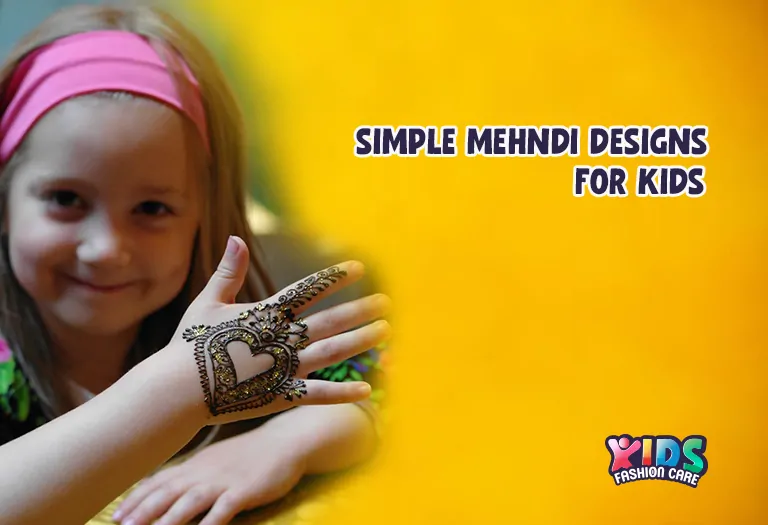
Simple mehndi designs for kids feature cute patterns like flowers, butterflies, moons, heart shapes, cartoons, etc. These designs are easy to apply and perfect for little hands. They are perfect for any festivals and celebrations.
Table of Contents
I first got to know about mehndi or henna from one of my Indian neighbors when I was seventeen. Its intriguing design and color grabbed my attention, and I was hooked on it. Applying mehndi to adult women is easy, but for kids, it is quite difficult. At a wedding function, I saw my friend struggling to apply mehndi on her daughter’s unsteady hand. Every mother was struggling to find proper design for their kids, and it was difficult to make those little girls sit in one place. At this moment, I decided to provide solutions to these mothers who face difficulties putting mehndi in their kids’ hands.
Mehndi is very popular in Indian and Arabian culture. They apply mehndi on their hands, feet, and even sometimes on their back by creating beautiful designs. They usually put mehndi in weddings, Eid, and other festivals.
Applying mehndi requires time and patience. With kids it becomes more difficult than adults. So, in this guide I’ll discuss some easy and simple mehndi designs for kids that can be applied in the blink of an eye. I’ll also provide some tips to make your kids’ mehndi long lasting and discuss pros and cons of organic mehndi and artificial mehndi.
Easy and Simple Mehndi Design Ideas for Kids
- Floral Design
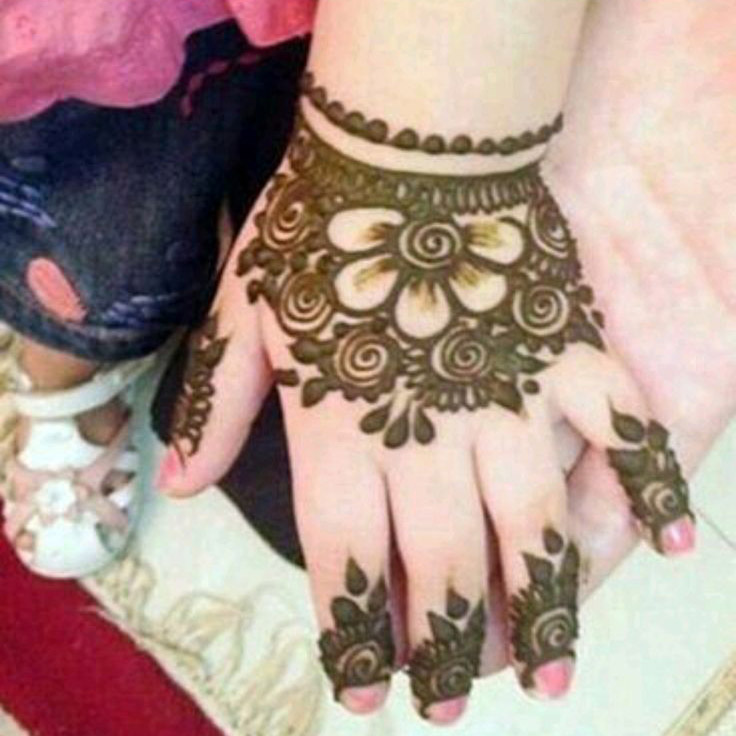 | 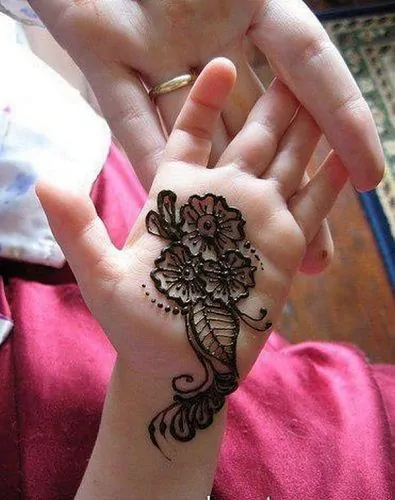 |
My first choice for my daughter is a floral mehndi design. These designs are incredibly cute and elegant. With some flowers and leaves, I can quickly do these designs on my kid’s hand. You can effortlessly apply them on your kids’ hands.
- Heart Shaped Design
 |  |
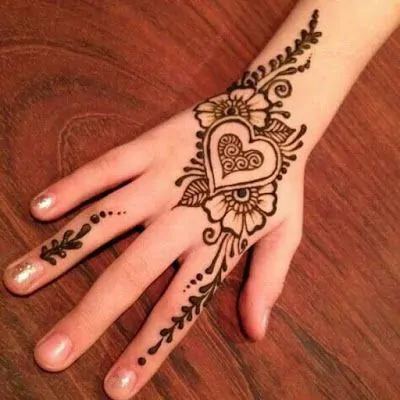 | 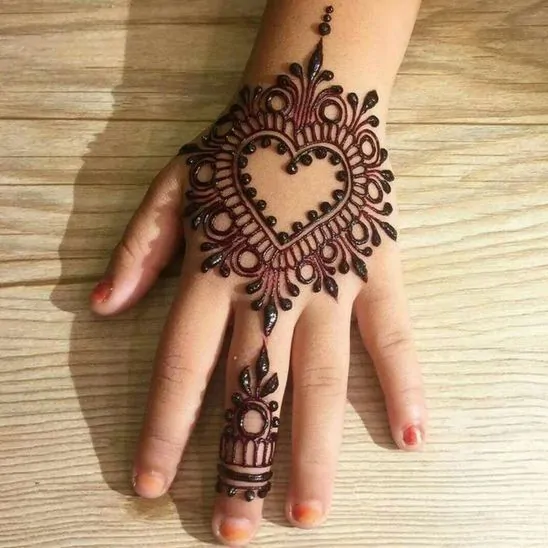 |
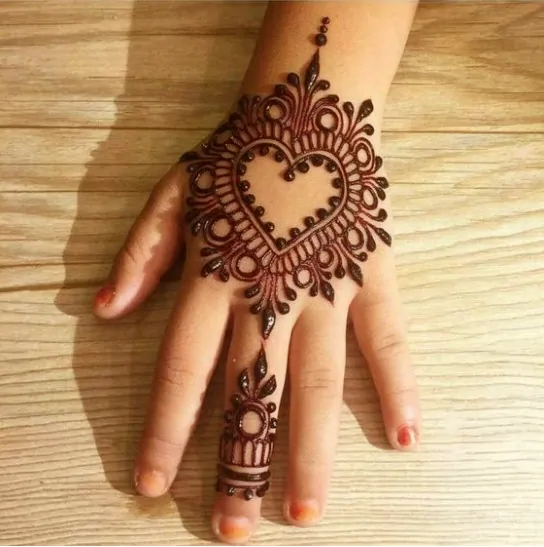
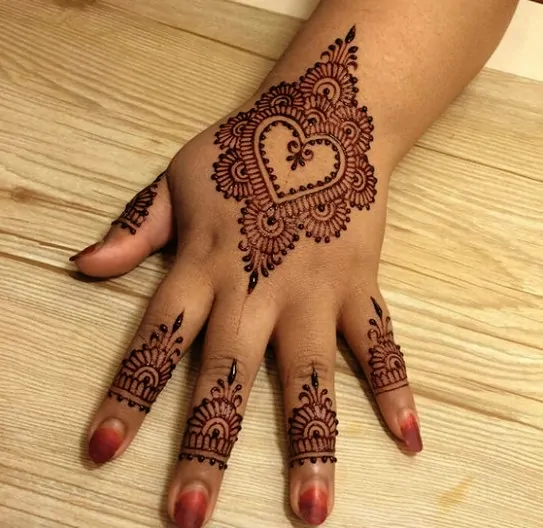
Heart-shaped is my favorite because with it, I can create many mehndi designs on my kid’s hand. You can also create many designs with heart shapes, flowers, leaves, and dots.
- Moon Design
 |  |
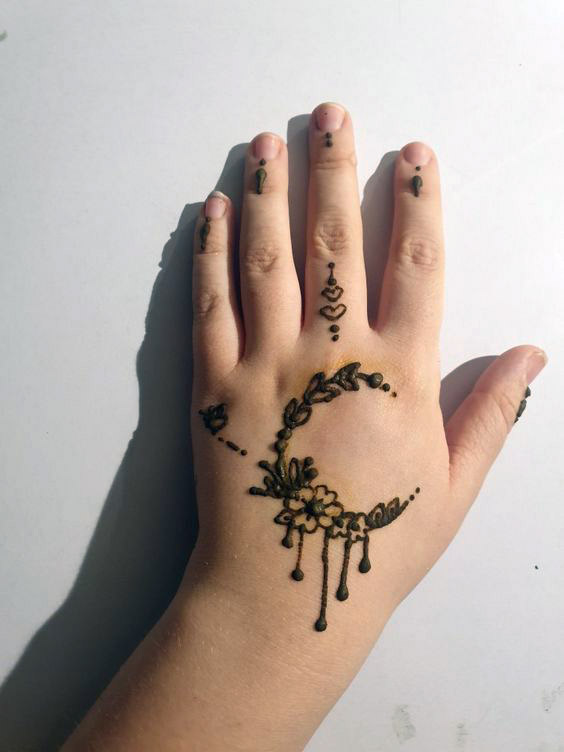 | 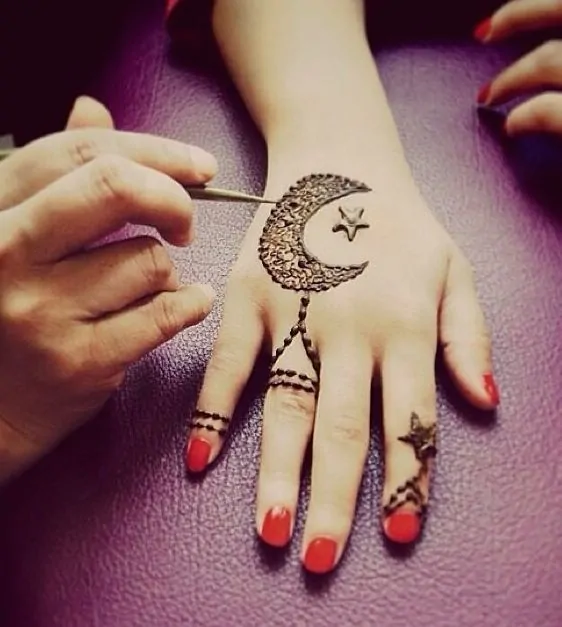 |
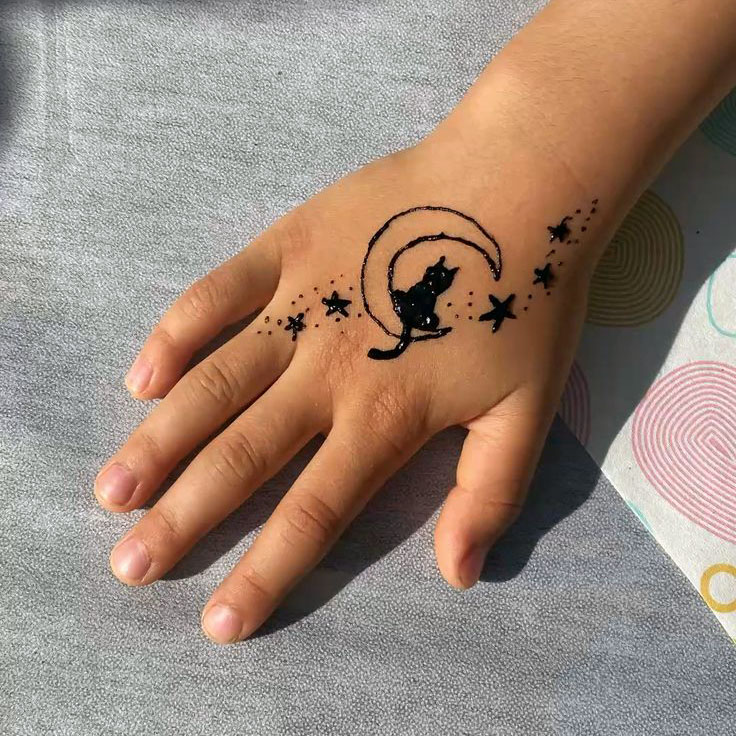
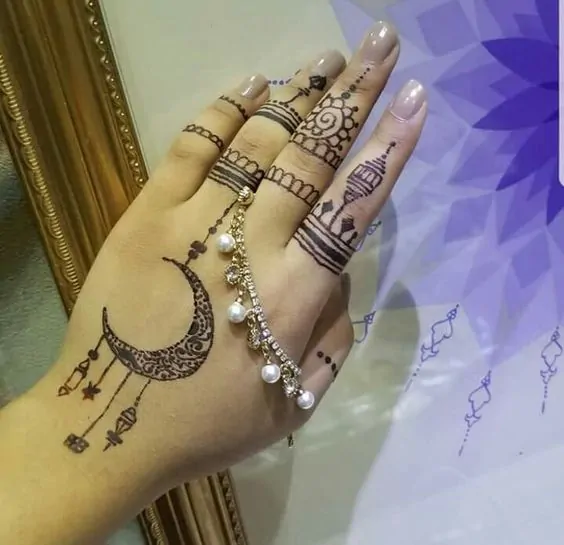
Moons look very cute on kids’ little hands. I love to draw the moon, and sometimes, I create a moon pattern with flowers and leaves. They are easy and super cute.
- Cartoon Design
 |  |
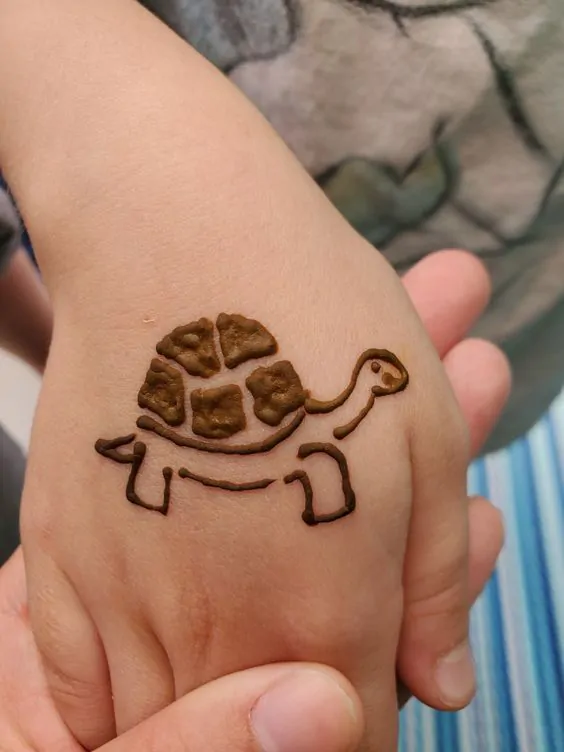 | 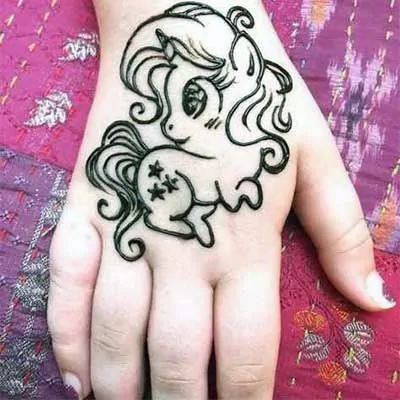 |
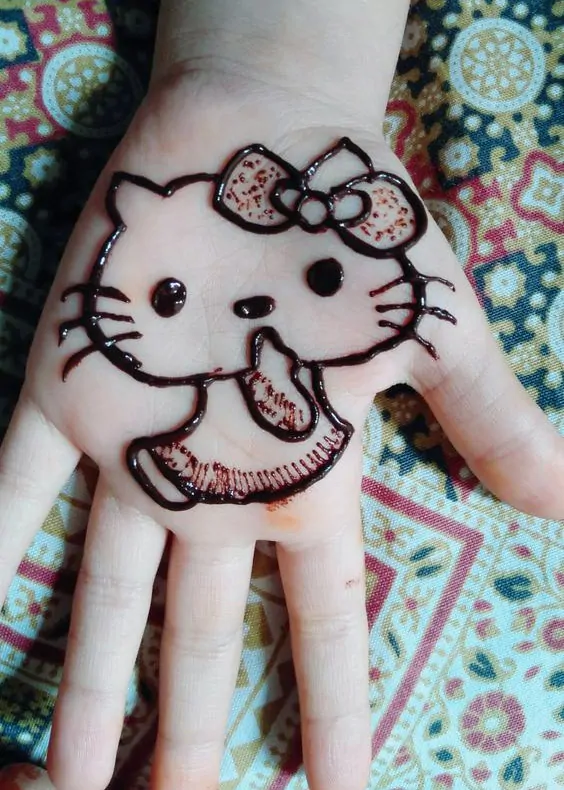
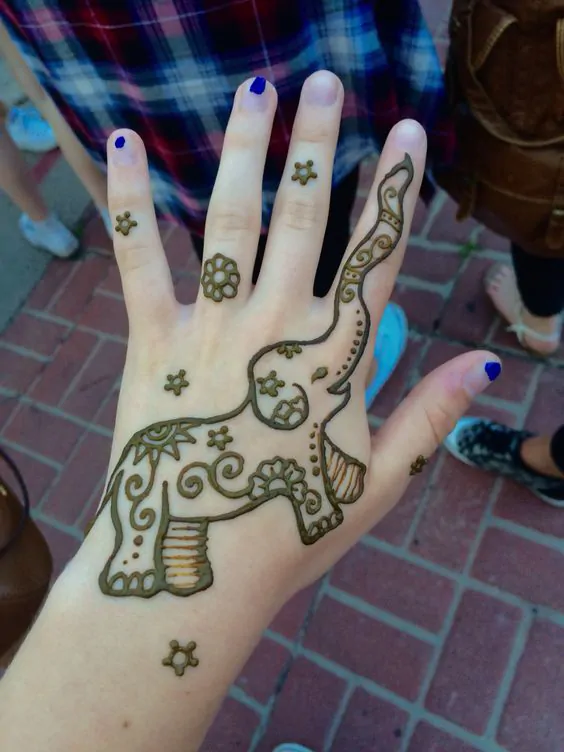
My daughter loves to draw her favorite cartoon characters on her hands with mehndi, especially Hello Kitty. These designs are easy and minimal, and any kid will love them.
- Rose Design
 |  |
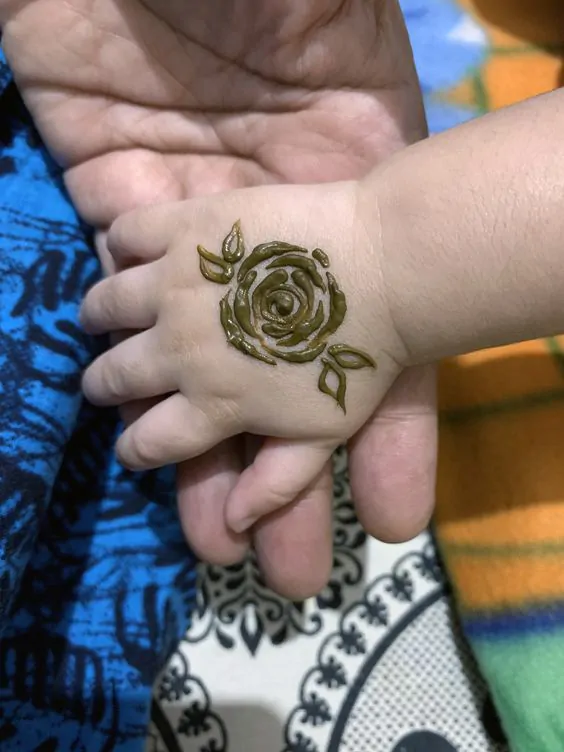 | 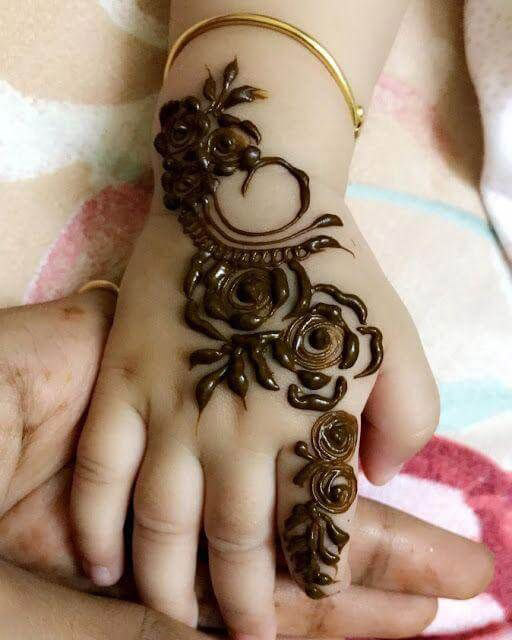 |
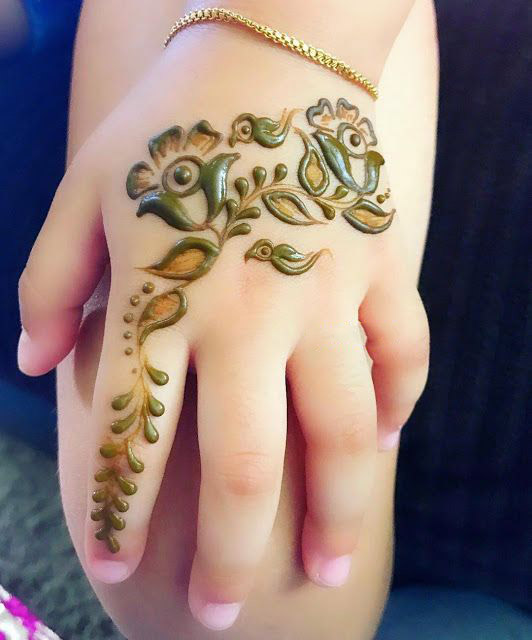
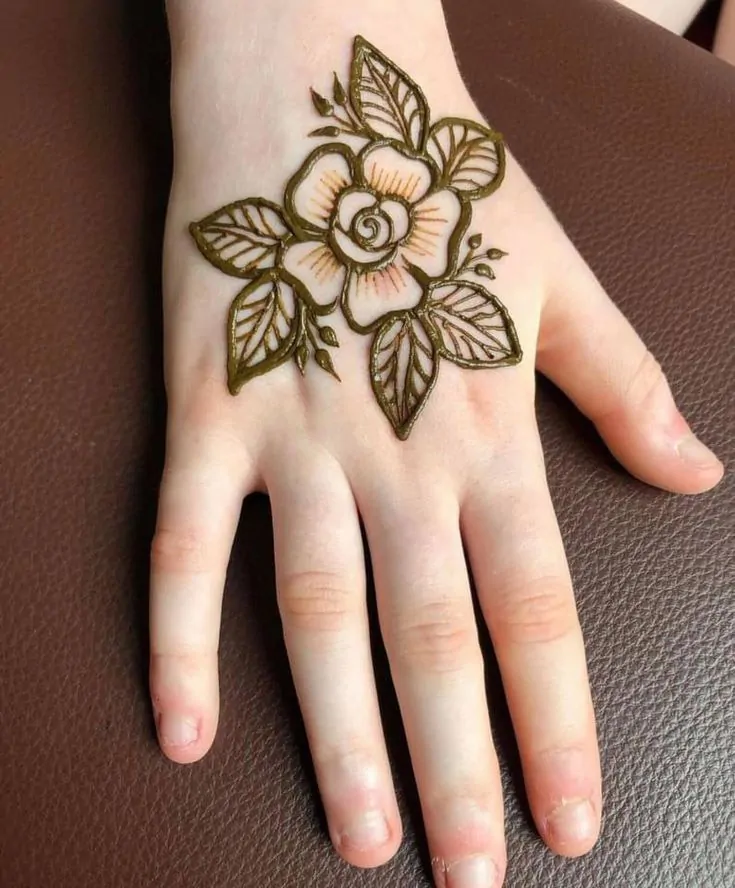
Rose is very popular for creating mehndi designs, which are on trend now. You can create any shape, small or big, with mehndi.
- Butterfly Design
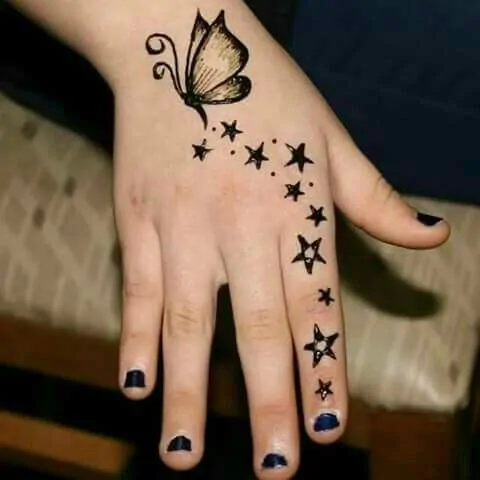 | 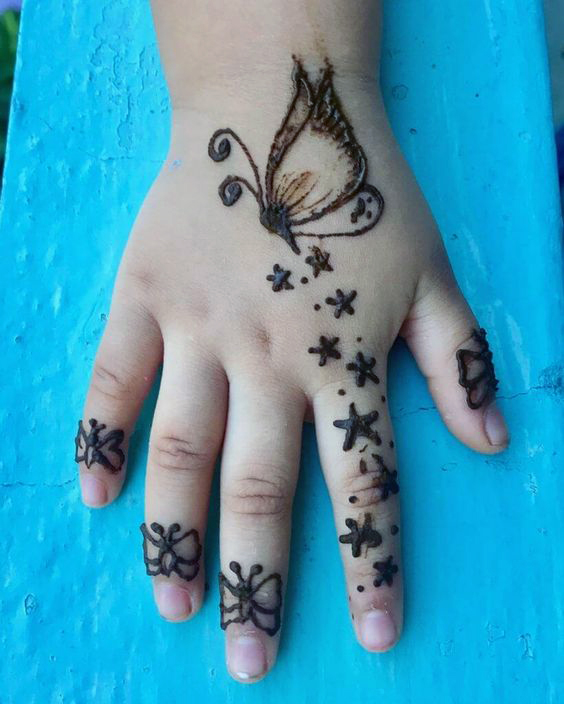 |
Who doesn’t love butterflies? Kids are especially very fond of butterflies. If you want to draw something beautiful quickly, then try these butterfly designs. Your kid will love it.
- Full Hand Design
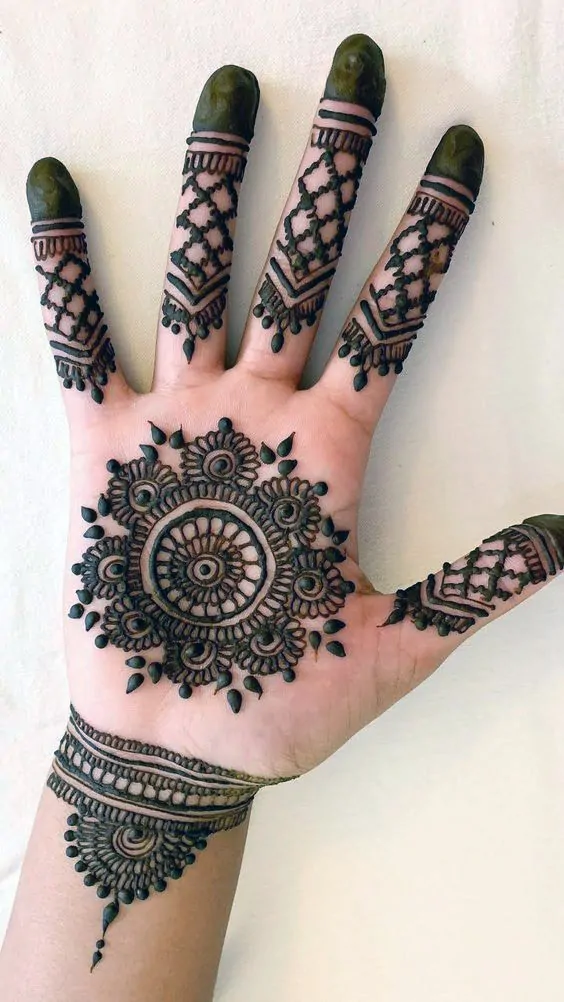
If you have time and can make your kid sit in a place for quite a long time, then you can create a design with your whole hand. I prefer to do this type of design on my daughter’s hand for big festivals.
- Finger Design
 |  |
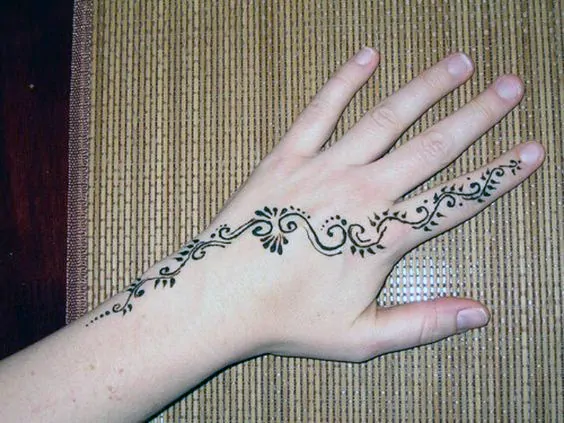 | 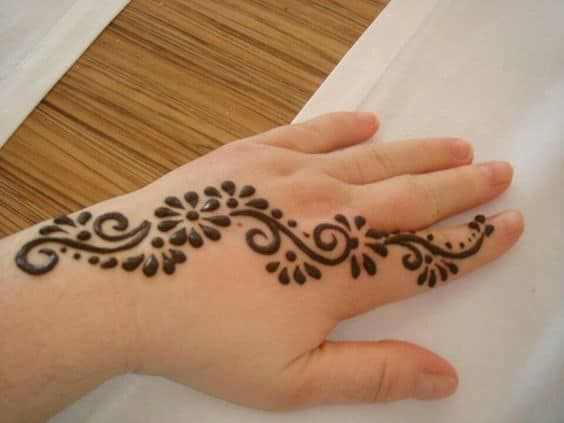 |
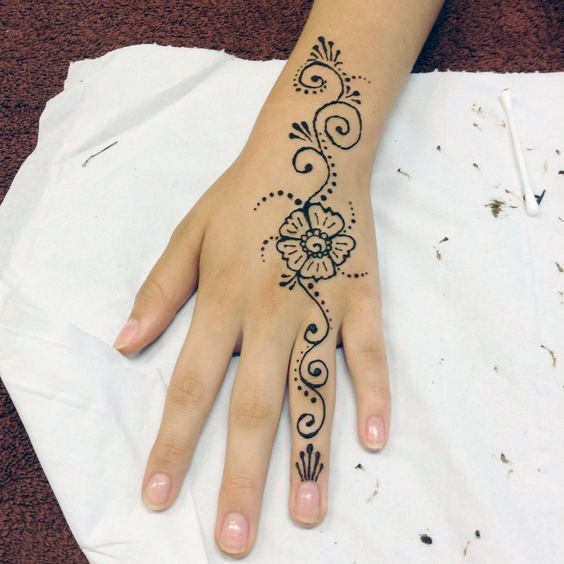
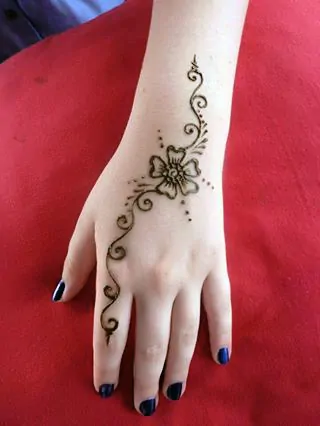
Creating a mehndi design on one finger is easy and beautiful. When my daughter asks for a design on only one finger, I go for this type of floral design. You can implement these designs on any finger you want.
- Front Hand Design
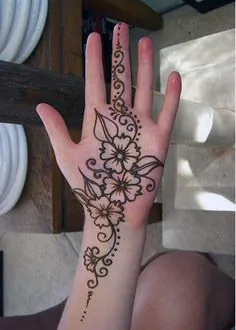 | 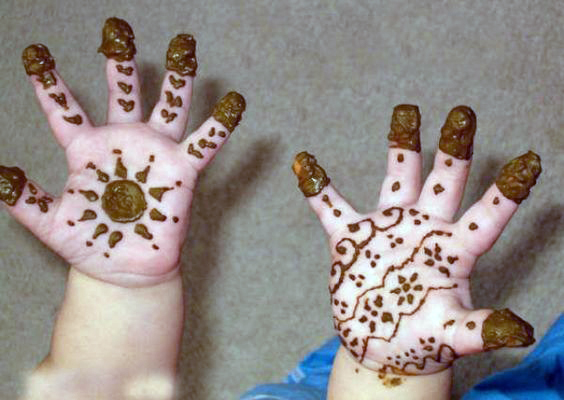 |
Front-hand design is also called open-hand design. Front hands tend to show more color and stay longer than the back of the hands. That’s why my daughter always wants me to draw mehndi in her front hand.
- Backhand Design
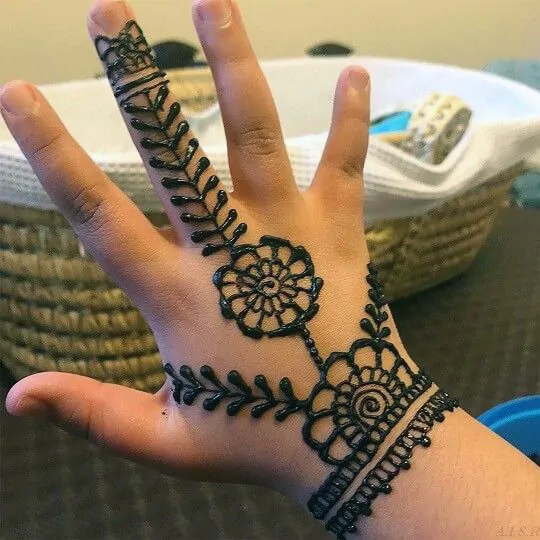 | 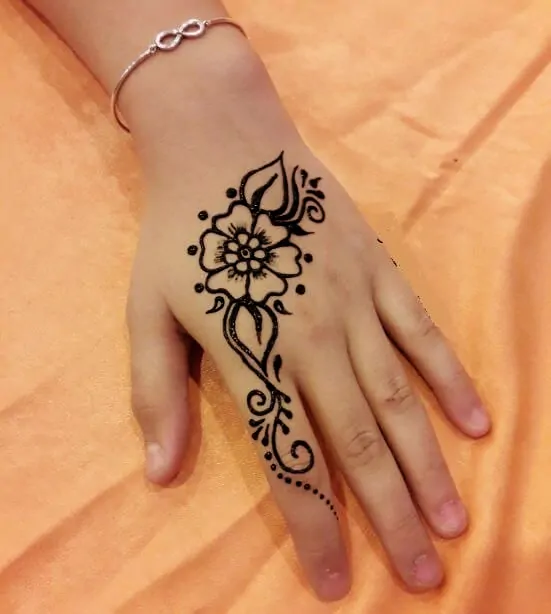 |
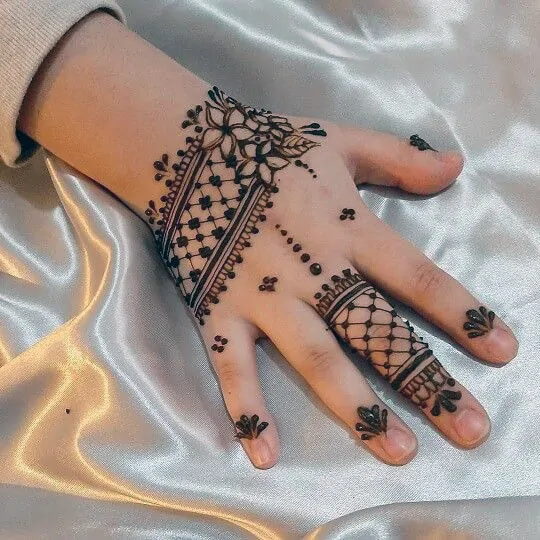 | 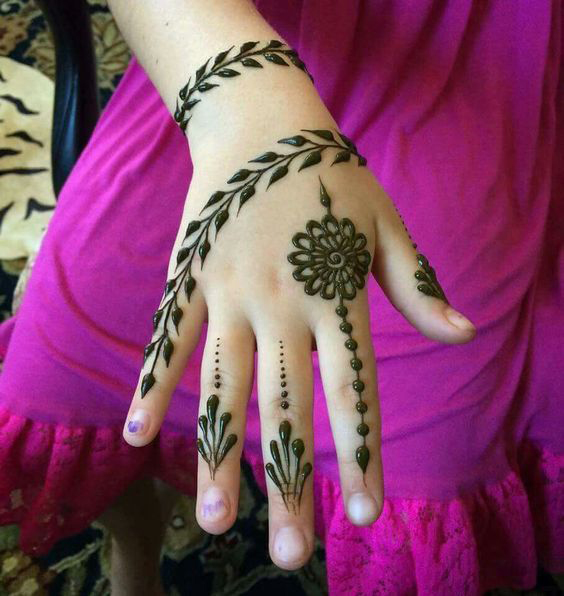 |
Applying mehndi on the backhand is also fun. Like the front of the hand, I create designs on the back of my daughter’s hands. The best part of the front hand design is that it is easily visible.
- Mehndi Design for Feet
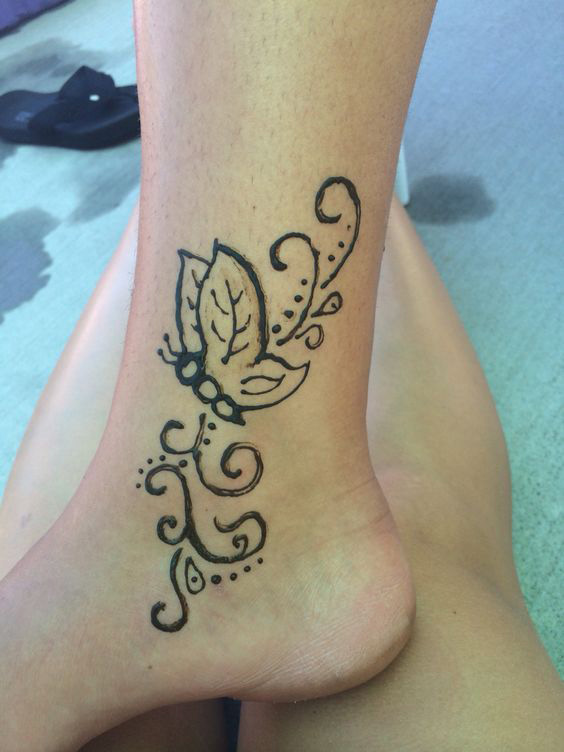 | 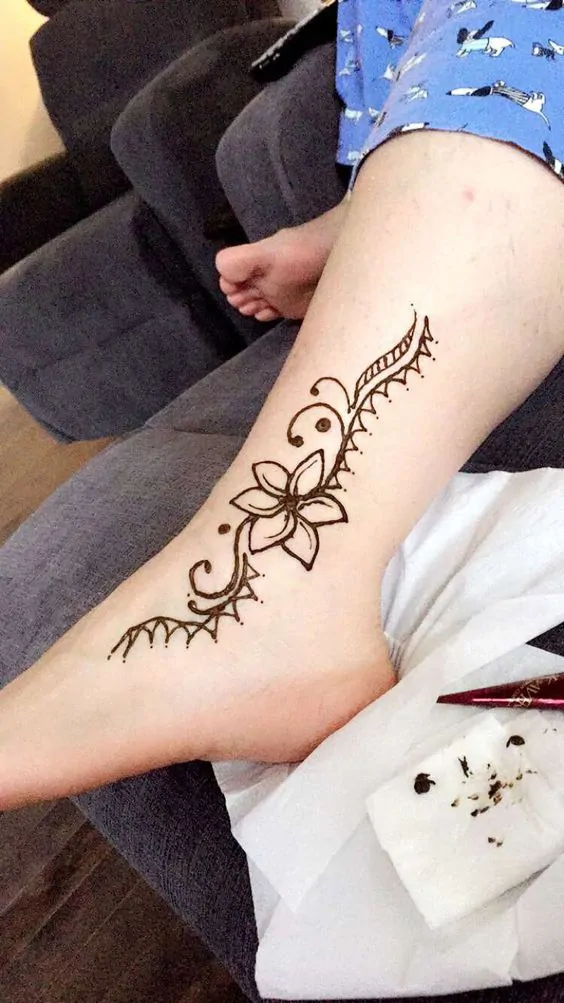 |
I also create designs on my kids’ feet. You can choose any easy and graceful design for your kid’s feet as well. If your kid is very small, I suggest you apply mehndi on their feet while they are sleeping.
How to Draw Mehndi Designs for Kids: Step by Step Guideline
Step- 1: Mehndi Selection
Selection of a good quality mehndi is very important. I’ve seen many people getting an allergic reaction to black henna, as it is a pure chemical. One of my friends got her skin burned from black henna once. So, it will be wise to pick organic mehndi for kids. Cheap mehndi can be extremely harmful to the kids’ delicate skin as well. Many mehndi are out there in markets that are made with extreme chemicals. They are very harsh on kids’ skin and cause severe reactions. Organic mehndi is safer than artificial mehndi. So, if you have the budget and time, then look for good quality organic mehndi for your kids.
Step- 2: Patch Test
Always do the patch test before creating designs on kids’ hands. Whether it’s organic or artificial mehndi, it can be allergic to kids’ skin. I suggest you put a small amount of mehndi on your kid’s forearm or feet and let it dry. After waiting for a day, if you don’t see any rashes or redness, then you can complete the design on your kid’s hands.
Step- 3: Simple Designs
Children are playful and definitely not steady. They can smudge the mehndi design easily. So, do not go for complicated designs for kids that take a long time to apply. Try to choose easy and simple designs that can be applied in a short time. Simple floral designs, butterflies, hearts, or your kids’ favorite cartoon characters are great options for little girls. For baby girls, go for a single design like a flower, heart, cartoon character, or butterfly.
6 Tips to Make Mehndi Color Intense and Long-Lasting
By experimenting with mehndi for years, I’ve learned some easy techniques to make the color more intense and long-lasting. Today, I’ll share six tips with you that will make your and your little girl’s mehndi color on point.
- Wash Your Hands before Applying Mehndi

Always wash hands with soap and water before applying mehndi. Kids’ hands can be dirty all the time as they play with mud, colors, and toys. So, it’s important to make their hands completely clean and germs-free before attempting any mehndi design. I use a gentle baby soap and water to clean my daughter’s hand and rub the water off with a towel. Clean hands absorb the mehndi most, and you’ll get darker color.
- Keep the Mehndi for a Long Time
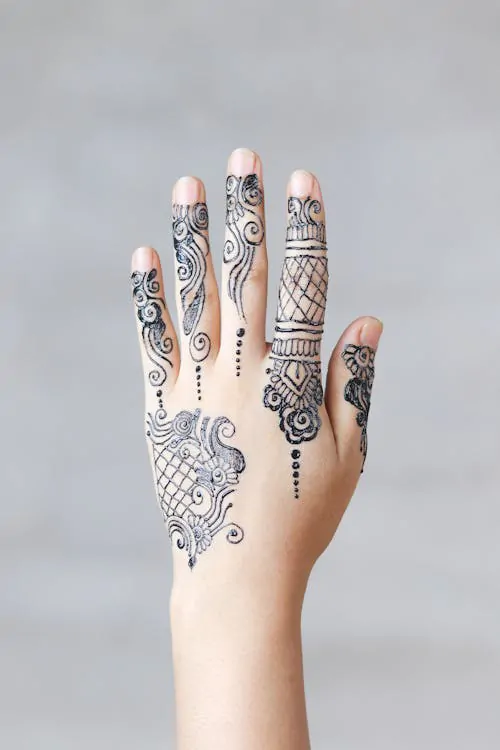
I keep my daughter’s mehndi for a long time and allow it to dry naturally. I don’t use a blow dryer to dry it out, as it can smudge the design. If your kids’ mehndi doesn’t show any allergic reaction, then you keep it for 3-4 hours. For an adult, I suggest keeping it overnight.
- Use Lemon and Sugar

Another popular and fun technique that I’ve found out is applying lemon and sugar. I’ve learned it from one of my friends. It helps the design stay for a long time and shows the darker color. Most importantly, it is harmless to kids’ skin.
First, I mix 1 tablespoon of sugar with 3 tablespoons of lemon juice. After that, I apply the mixture to the design with a cotton ball after the mehndi dries out completely. Then, I gently dab it on the mehndi, or it may ruin the design.
- Smoke the Design with Cloves

Another effective technique that I follow and apply to my daughter’s mehndi is smoking the design with cloves. The heat from cloves helps to darken the color. To apply this technique, I first dry the mehndi completely. Then, I toast some cloves in a heated pan. I let the cloves burn for a few minutes. Then, I wave my daughter’s hand over the pan. This technique intensifies the color a lot, but it may be a little bit trickier to do with kids, so you have to be extra careful.
- Apply Mustard Oil

It’s one of the easiest ways to make the mehndi color intense. Mustard oil’s naturally warming effect helps to darken the mehndi color. I simply let my daughter’s mehndi dry out and apply mustard oil on her design. I use this technique more often as it’s easy and harmless.
- Avoid Water

Try to avoid getting the mehndi design wet for 24 hours. Water can wash away the design and lighten the color.
Organic Mehndi Vs. Artificial Mehndi
There are two types of mehndi or henna available at market, organic mehndi and artificial mehndi. Before applying any mehndi on your kids’ hands you should have a clear idea about different types of mehndi.
| Organic Mehndi | Artificial Mehndi |
| Made from the henna leaves | Made from chemical ingredients |
| Ingredients include henna powder, tea powder, lemon juice, essential oil, water, and sugar. | Ingredients include paraphenylenediamine (PPD), metallic salts, and chemical dyes |
| Natural, safe, and non-toxic | Can be harmful to the skin |
| Smells natural | Smells chemically |
| Color shows slowly | Color shows instantly |
| Long-lasting color | Color stays for a short time |
Frequently Asked Questions (FAQs)
Question: How Can I Learn Mehndi Design at Home?
Answer: You can start with easy designs to practice applying mehndi at home. You can choose design stickers first to practice the easy design. Then, you can go for designing books and YouTube videos to learn and practice more complicated designs.
Question: How to Make a Mehndi at Home?
Answer: Pour about 20 grams henna powder, 8 grams sugar, 5 ml essential oil, and water. First, mix all the ingredients in a bowl, then add the water and make a thick paste. Wrap the bowl with plastic wrap and leave it for 30 minutes. Make small henna cones with foil paper, pour the henna paste into them, and seal them with scotch tape.
Question: How Long Should I Keep Mehendi On My Hands?
Answer: I recommend you to keep the mehndi for 6-8 hours for the best result. You can apply the mehndi at night and remove it the next morning.
Question: Does Coconut Oil Darken the Mehndi Color?
Answer: Yes, coconut oil helps to darken the mehndi color. It controls the moisture exposure and keeps the henna intact as it oxidizes. You can also use olive oil, shea butter, or Vaseline to make the henna stain darker.
Conclusion
Applying mehndi on kids’ hands is quite a task. But, following these tips and tricks, you can easily apply mehndi to your kids’ hands and make the color darker. From my experience, I tried to suggest some amazing and simple mehndi designs for kids and steps for applying it, so you can apply them to your kids’ hands by yourself. I hope this article will be helpful for your next big festival. You can also check out our other blogs on kids’ fashion and style and keep your little one always on trend.

