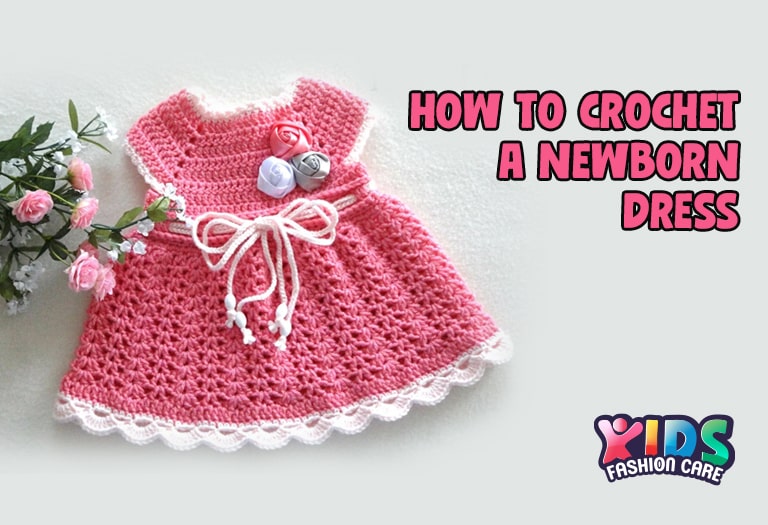
Start with a soft yarn, crochet a simple bodice, then add rows for the skirt— you can add little ruffles if you’re feeling fancy!
Wondering how to crochet a newborn dress? You can easily crochet a newborn dress, it is simpler than it sounds and such a sweet project! Start with soft, baby-friendly yarn (cotton or bamboo is perfect), and crochet a small bodice using double or half-double crochet stitches. Once the top part is done, add rows to build a cute little skirt, maybe adding ruffles if you’re up for some extra flair. Keep checking the size as you go—newborns are tiny! You can finish it off with a gentle scallop edge. This cozy, handmade piece is sure to be a keepsake, and it’s an adorable way to wrap your little one in love.
Table of Contents
My friend just had a beautiful baby girl! I can’t wait to see her and I will be going to meet her this week. Before her birth I was planning about gifts and I thought anything handmade would be perfect. So, as her super fashion expert aunt I’ve already crochet a beautiful dress for her. My mom was a fan of crocheting and as her daughter I inherited this. If you’re a new mom (or an aunt like me) and want to try crocheting a dress for a tiny human, I’ve got you covered. This guide will walk you through every step to crochet a beautiful newborn dress from scratch. Trust me; it’s easier than it looks – just follow along, stitch by stitch!
Crocheting can seem a bit daunting at first, but with the right tools, a dash of patience, and my step-by-step instructions, you’ll soon be creating a one-of-a-kind baby dress that’s as unique as your little one.
How to Crochet a Newborn Dress?
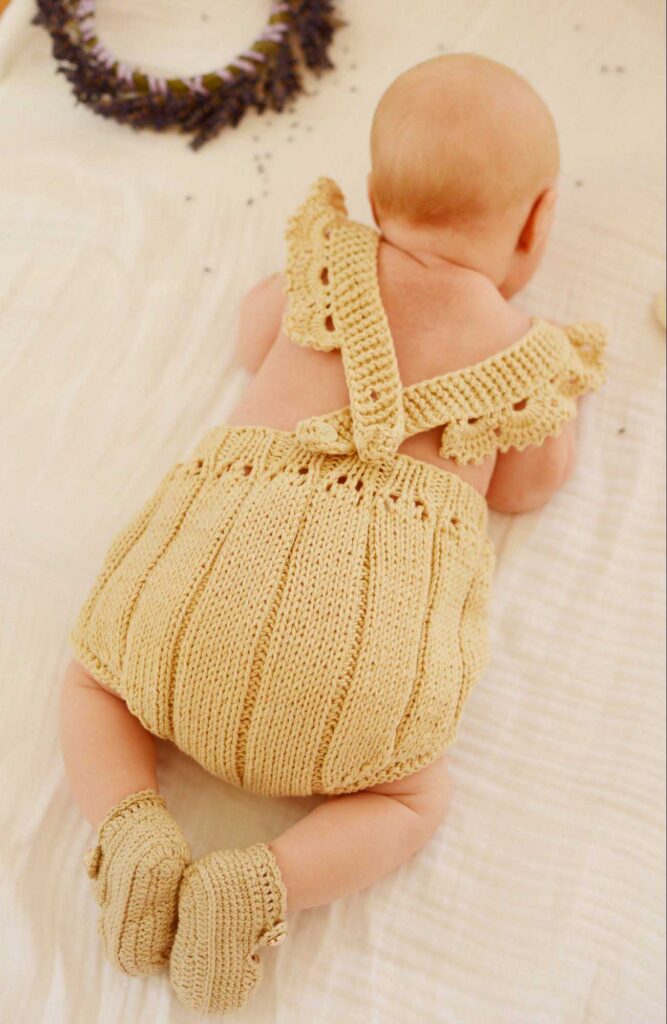
You have to gather some essential materials and tools before you start the crocheting game.
| Materials and Tools | Details |
| Yarn | Soft, lightweight baby yarn (cotton, bamboo, or acrylic blends) |
| Hook | 3.5mm to 4.5mm |
| Scissors | Small, sharp pair for clean cuts |
| Stitch Markers | For keeping track of your place |
| Measuring Tape | For accurate sizing |
| Tapestry Needle | For weaving in ends |
| Optional Embellishments | Buttons, ribbons, or crochet appliqués |
| Pattern | Pick easy pattern as a beginner |
Yarn: The Heart of the Project
- Newborn’s skin is super delicate. So go for yarn that’s gentle on the skin. Look for materials labeled as baby yarn, usually made from cotton, bamboo, or acrylic blends. These fibers are hypoallergenic, lightweight, and breathable. For a baby’s delicate skin these materials are perfect.
- For baby dresses, a lightweight yarn (labeled as DK, sport, or light worsted) works well. It creates a soft, flexible fabric that’s easy for little ones to move in.
- This is where you can add your personal touch! Pastels are traditional for babies, but you can pick any color that feels right. Multicolor or ombré yarns can add a playful effect without requiring color changes.
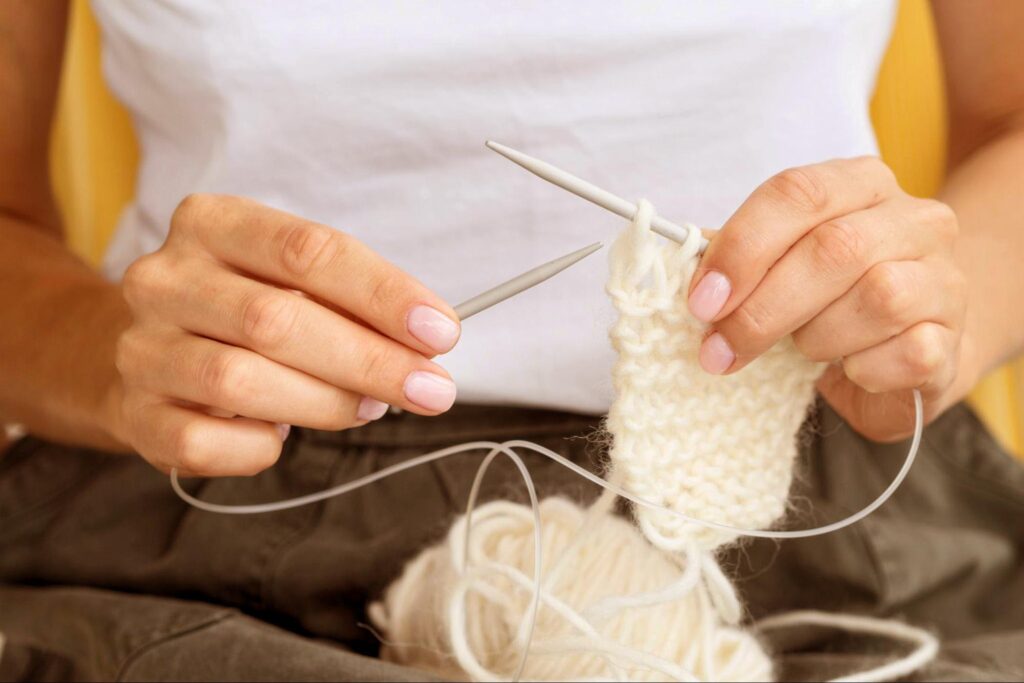
Crochet Hook: Your Magic Wand
- Without a good hook your crochet can be a total failure. The hook size you use will impact the stitch tightness and overall size of the dress. For most lightweight yarns, a hook between 3.5mm and 4.5mm works well. Many patterns will suggest a hook size, so start there and adjust based on your tension.
- If you’ll be crocheting for longer periods, ergonomic hooks with cushioned grips can prevent hand strain. They’re especially helpful if you’re working on a larger project or just getting used to crocheting.
Scissors: Sharp and Small
You’ll need scissors to cut your yarn cleanly. It’s especially needed for switching colors or finishing off sections. For crocheting small and sharp craft scissors that work best. With this type of scissors you can cut precisely without fraying the yarn.
Stitch Markers: Keeping Track of Your Progress
- To keep track of specific points in your pattern you’ll need stitch markers. Stitch markers can point to the start of a new round or a decrease section. It helps to shape details around the neckline, armholes, or skirt.
- You can use special crochet stitch markers that clip onto stitches, or you can repurpose items like bobby pins or even small pieces of yarn.
Measuring Tape: For Accurate Sizing
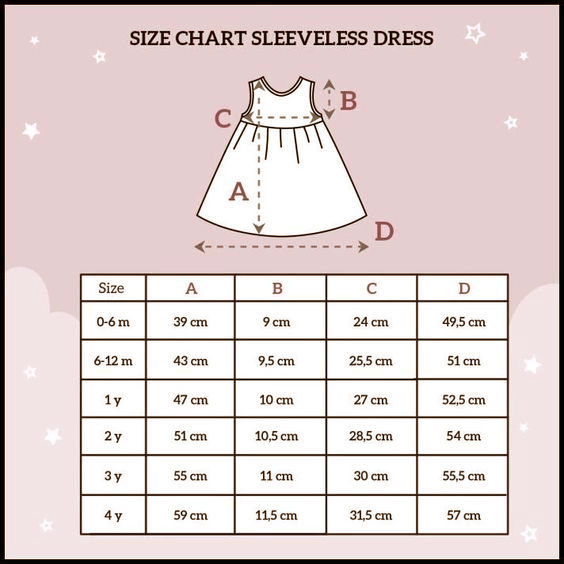
You’ll definitely want a measuring tape to make sure the dress will fit a newborn just right. You’ll be checking the chest size, the dress length, and sometimes the armholes. A regular tape measure works, but a soft, flexible fabric one is way easier to handle for those little details.
Tapestry Needle: For the Finishing Touches
You’ll need a tapestry needle (or yarn needle) for the finishing touches, like weaving in loose ends, joining pieces, and adding any cute embellishments. Go for one with a big enough eye to easily thread your yarn, and make sure it’s blunt at the tip so it doesn’t snag on your stitches.
Optional Embellishments: Buttons, Ribbons, or Appliqués
- If your pattern includes button closures, go for flat, lightweight buttons that won’t irritate the baby. And be sure to sew them on super securely to keep things safe.
- A soft ribbon around the waist or neckline makes a lovely finishing touch. Just be mindful of where you place it so it stays comfy for the little one.
- You can add crocheted flowers, tiny bows, or other cute appliques to make the dress more adorable. You try making some small crochet motifs to sew onto the dress. As a beginner, keep it simple.
A Pattern or Guide
- As a beginner, a simple pattern with basic stitches is the way to go. There are plenty of designs available online. You can search Google, Pinterest, or Instagram for plenty of free patterns online.
- It’s handy to have a printed copy of the pattern nearby—it makes it easy to refer back, jot down notes, or check off sections as you go. But if you prefer, you can keep it digital and work from a tablet or phone too!
Basic Crochet Stitches : Learn from Scratch
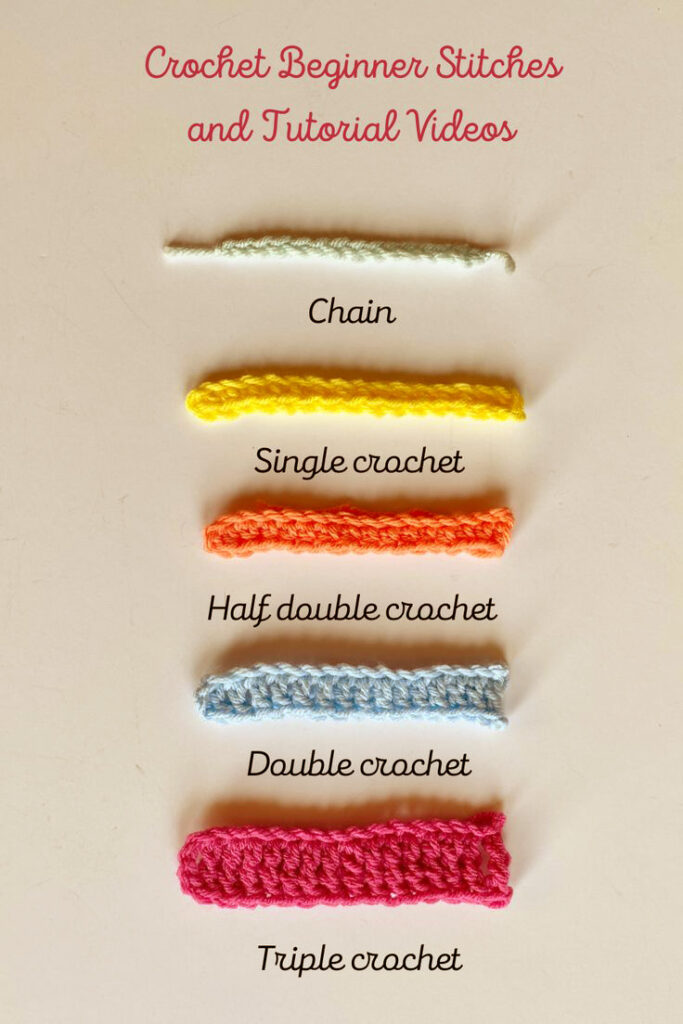
When I first picked up a crochet hook, I felt like I was learning a new language! But mastering these basic stitches is like learning your crochet ABCs—once you get the hang of them, you’re ready for just about crocheting anything. I’ll discuss some key stitches that you’ll need for a newborn dress.
- Chain Stitch (ch): This one’s your starting line, the backbone of your project. It’s as easy as looping the yarn through itself, creating a simple foundation to build on. I remember practicing my chains over and over until they were just right—think of it as your warm-up stretch before you totally nail it.
- Single Crochet (sc): This stitch creates a cozy, dense fabric, perfect for parts that need a little snugness, like the bodice. When I first learned this one, I was amazed at how sturdy it felt, like a good pair of winter socks.
- Double Crochet (dc): It is a bit looser and more flexible than a single crochet. The double crochet gives your dress a soft, stretchy feel. If you are planning to make a skirt or any part that needs a little flow then you can follow this stitch pattern.
- Slip Stitch (sl st): I use slip stitch for connecting pieces or adding those final touches along the edges. Think of it as the “glue” that holds things together. It ties up loose ends with a neat and polished finish.
Crochet Dresses for Newborn: Step-by-Step Instructions
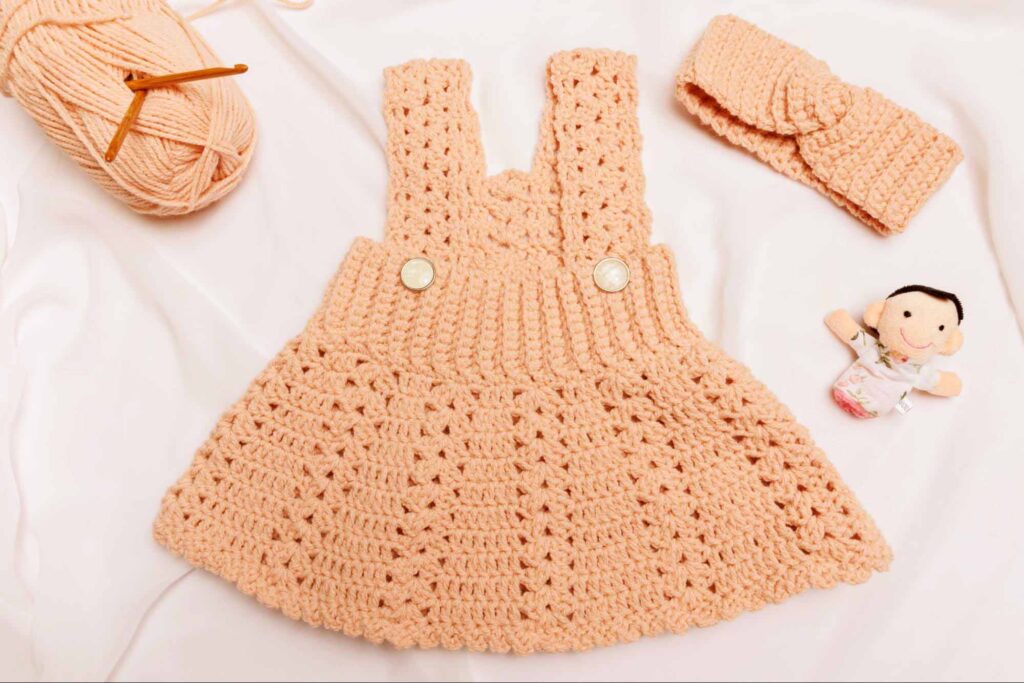
Materials
Yarn: Lightweight baby-friendly yarn (DK or sport weight)
Hook: 4.0mm crochet hook (or as needed for gauge)
Notions: Scissors, tapestry needle, 2-3 buttons (optional)
Abbreviations
ch = chain
sc = single crochet
dc = double crochet
sl st = slip stitch
st(s) = stitch(es)
rep = repeat
Gauge
For accurate sizing, work up a swatch:
10 dc and 5 rows = 4″ square. Adjust hook size as needed
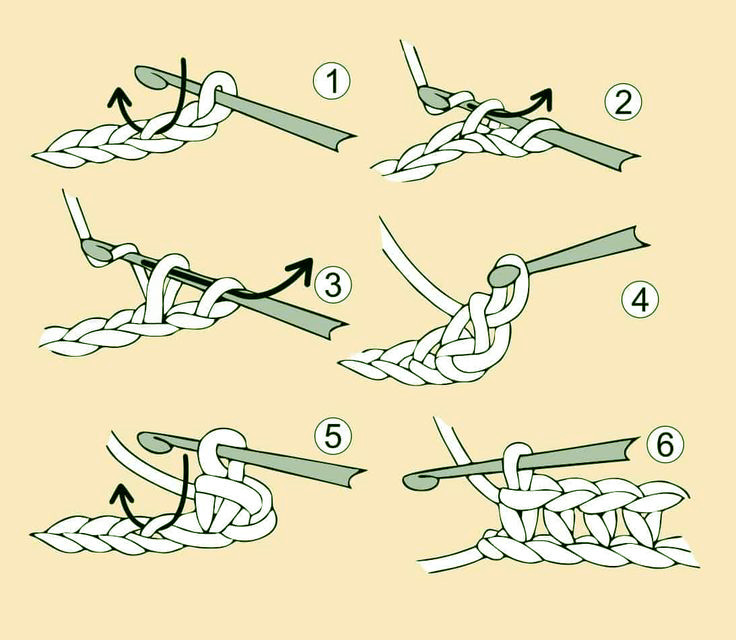
Step 1: Starting the Foundation Chain
You have to first create the foundation chain based on the baby’s chest size. You’ll create the base of your dress with the chain form, so make sure it’s not too tight or loose. Remember, this part will determine how the dress fits.
Step 2: Creating the Bodice
Crochet the bodice with rows of single or double crochet. This area should be a bit snug to keep the dress in place. If you’re using a double crochet, the dress will have a more airy feel, while a single crochet gives it a tighter look.
- Foundation Chain: Ch 44 (or a multiple for desired chest size).
- Row 1: Dc in the 3rd ch from hook and each ch across. Turn. (42 dc)
- Row 2: Ch 2 (counts as first dc), dc in each st across. Turn.
- Row 3-8: Rep Row 2 for a total of 8 rows. This will form the bodice height. Adjust rows for taller/shorter bodice.
Step 3: Shaping the Armholes
Skip a few stitches or rows where the armholes will go. It’ll shape the armholes. You have to specially focus on this part. So, use stitch markers to remember where you are. Make sure the armholes are the same size on each side for a balanced fit.
- Row 9 (Right Side): Ch 2, dc in the next 9 sts. Ch 4 (for armhole), skip 6 sts, dc in the next 12 sts, ch 4 (for armhole), skip 6 sts, dc in the last 10 sts. Turn. (This creates armholes by skipping stitches on each side.)
- Row 10: Ch 2, dc in each dc and ch across. (30 dc)
Step 4: Working on the Skirt Section
In this step you can add some volume. Crochet in rounds or rows, depending on your pattern, and create more stitches in each row. You can also add ruffles or a different stitch here (it;’s all about your creativity).
- Row 1: Ch 2, dc in each dc across, 2 dc in next st, rep from to end. Turn.
- Row 2: Ch 2, dc in each st across.
- Row 3-12: Rep Row 2 for desired length, adding more rows for a longer skirt.
Step 5: Adding Edges and Trims
Finish off the dress by adding a scalloped edge or a picot trim around the neckline and hem. This gives the dress a polished, professional look. You can also add a cute little collar if you like.
- Round 1: Attach yarn to the bottom of the skirt. 5 dc in next st, skip next st, sl st in next st, rep from around to end of skirt.
How to Wash and Care for a Crochet Dress?
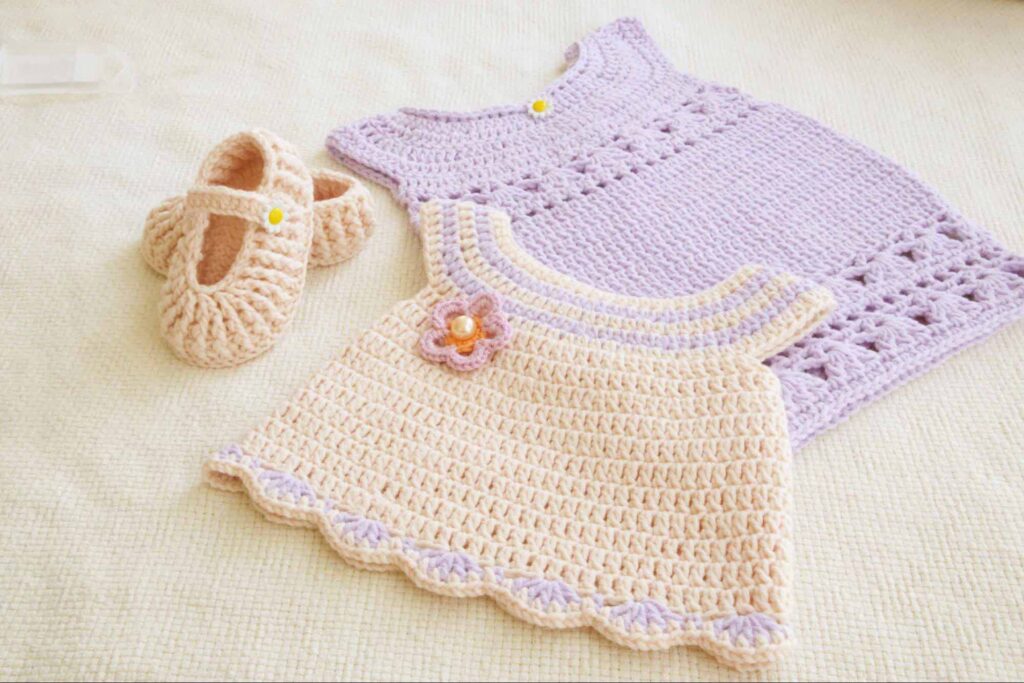
You have to wash the crochet dress with a delicate hand. But don’t worry, it’s simpler than you might think! I’ll share with you my personal go-to method for washing crochet dresses.
Know Your Yarn
Natural fibers like cotton and wool need gentler care than synthetic yarns like acrylic. Some yarn labels will even have washing instructions, so take a peek if you still have it.
Hand-Wash Like a Pro
For most crochet dresses, especially if they’re handmade, hand-washing is best. It might sound old-fashioned, but trust me, it’s worth the extra few minutes.
- Fill a Basin with Cool Water: Think lukewarm or cool water – hot water is a no-no because it can make your stitches lose shape or shrink.
- Add a Gentle Detergent: Use a mild, baby-safe soap or a few drops of wool wash if you have it. Try not to use regular laundry soap. It can be too harsh for the fabric and ruin the dress’s color or softness.
- Soak Gently: Sink the crochet dress and gently press it into the water. Do not scrub or wring the dress. Soak it for about 10-15 minutes to loosen up any dirt or grime.
Rinse – But Don’t Twist!
Once the dress has soaked, drain the soapy water and gently refill with fresh, cool water. Carefully press the dress to rinse out the soap, but avoid twisting or wringing it out. Instead, press the dress against the basin to squeeze out excess water.
The Towel Roll Trick
Lay the crochet dress flat on a clean towel to get rid of the extra water. Roll up the towel with the dress inside (like a little burrito!) and gently press down to soak up the water. This step will help your dress dry faster and will not stretch out the fabric.
Lay It Flat to Dry
When it’s time to dry, resist the urge to hang it up – this can stretch out the delicate stitches, especially with heavier yarn. Instead, lay it flat on a fresh, dry towel or a mesh drying rack if you have one. Shape it back to its original form, smoothing out any lumps or bumps, and let it air dry completely. It may take a day or so, but it’ll be worth the wait!
Bonus Tips for Extra Care
Sun can cause colors to fade, so keep it out of direct rays. If the dress has a bit of wrinkling, lay it flat in a steamy bathroom, or lightly stretch the fabric by hand. Ironing can be too intense for crochet!
Frequently Asked Questions (FAQs)
Question: Are crochet clothes safe for babies?
Answer: Yes, as long as you use soft, natural yarn like cotton or bamboo and avoid small buttons or loose fibers. They’re cozy, safe, and perfect for babies!
Question: What is the best age for crochet?
Answer: Any age works! For learning, kids around 8 can try it, but making things for younger kids is fine—just skip loose parts for babies.
Question: Can I put crochet clothes in the washing machine?
Answer: Yes, but use a gentle cycle with cold water and a laundry bag. Lay flat to dry to keep it in great shape!
Question: What should I crochet first?
Answer: If you are confused about what to crochet first, then try a simple scarf or washcloth. These are great for practice and easy to finish. Then, you can work up to bigger projects like blankets.
Question: Why is crochet so expensive?
Answer: Crochet takes quite a long time to finish. It’s totally handmade, stitch-by-stitch, which takes time, and you’ll need quality yarn. These features make crochets expensive.
Conclusion
I hope you already got the answer to your question on how to crochet a newborn dress. I also had a lot of fun crocheting the tiny dress for my friend’s baby. I tried to cover the caring guide for crochet dresses as well. I hope this guide will help you if you are planning to crochet dresses for your newborn or your nieces.
Feel free to share your creations with us on our social media. You can also leave a comment or suggestion in the comment section.

