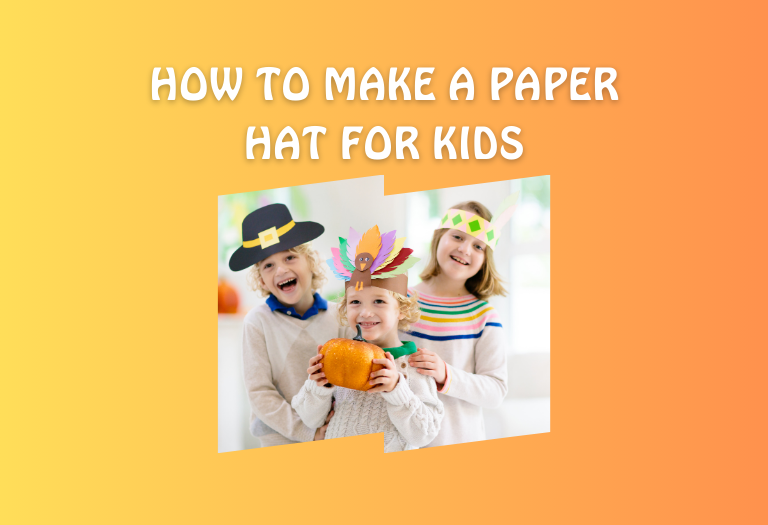
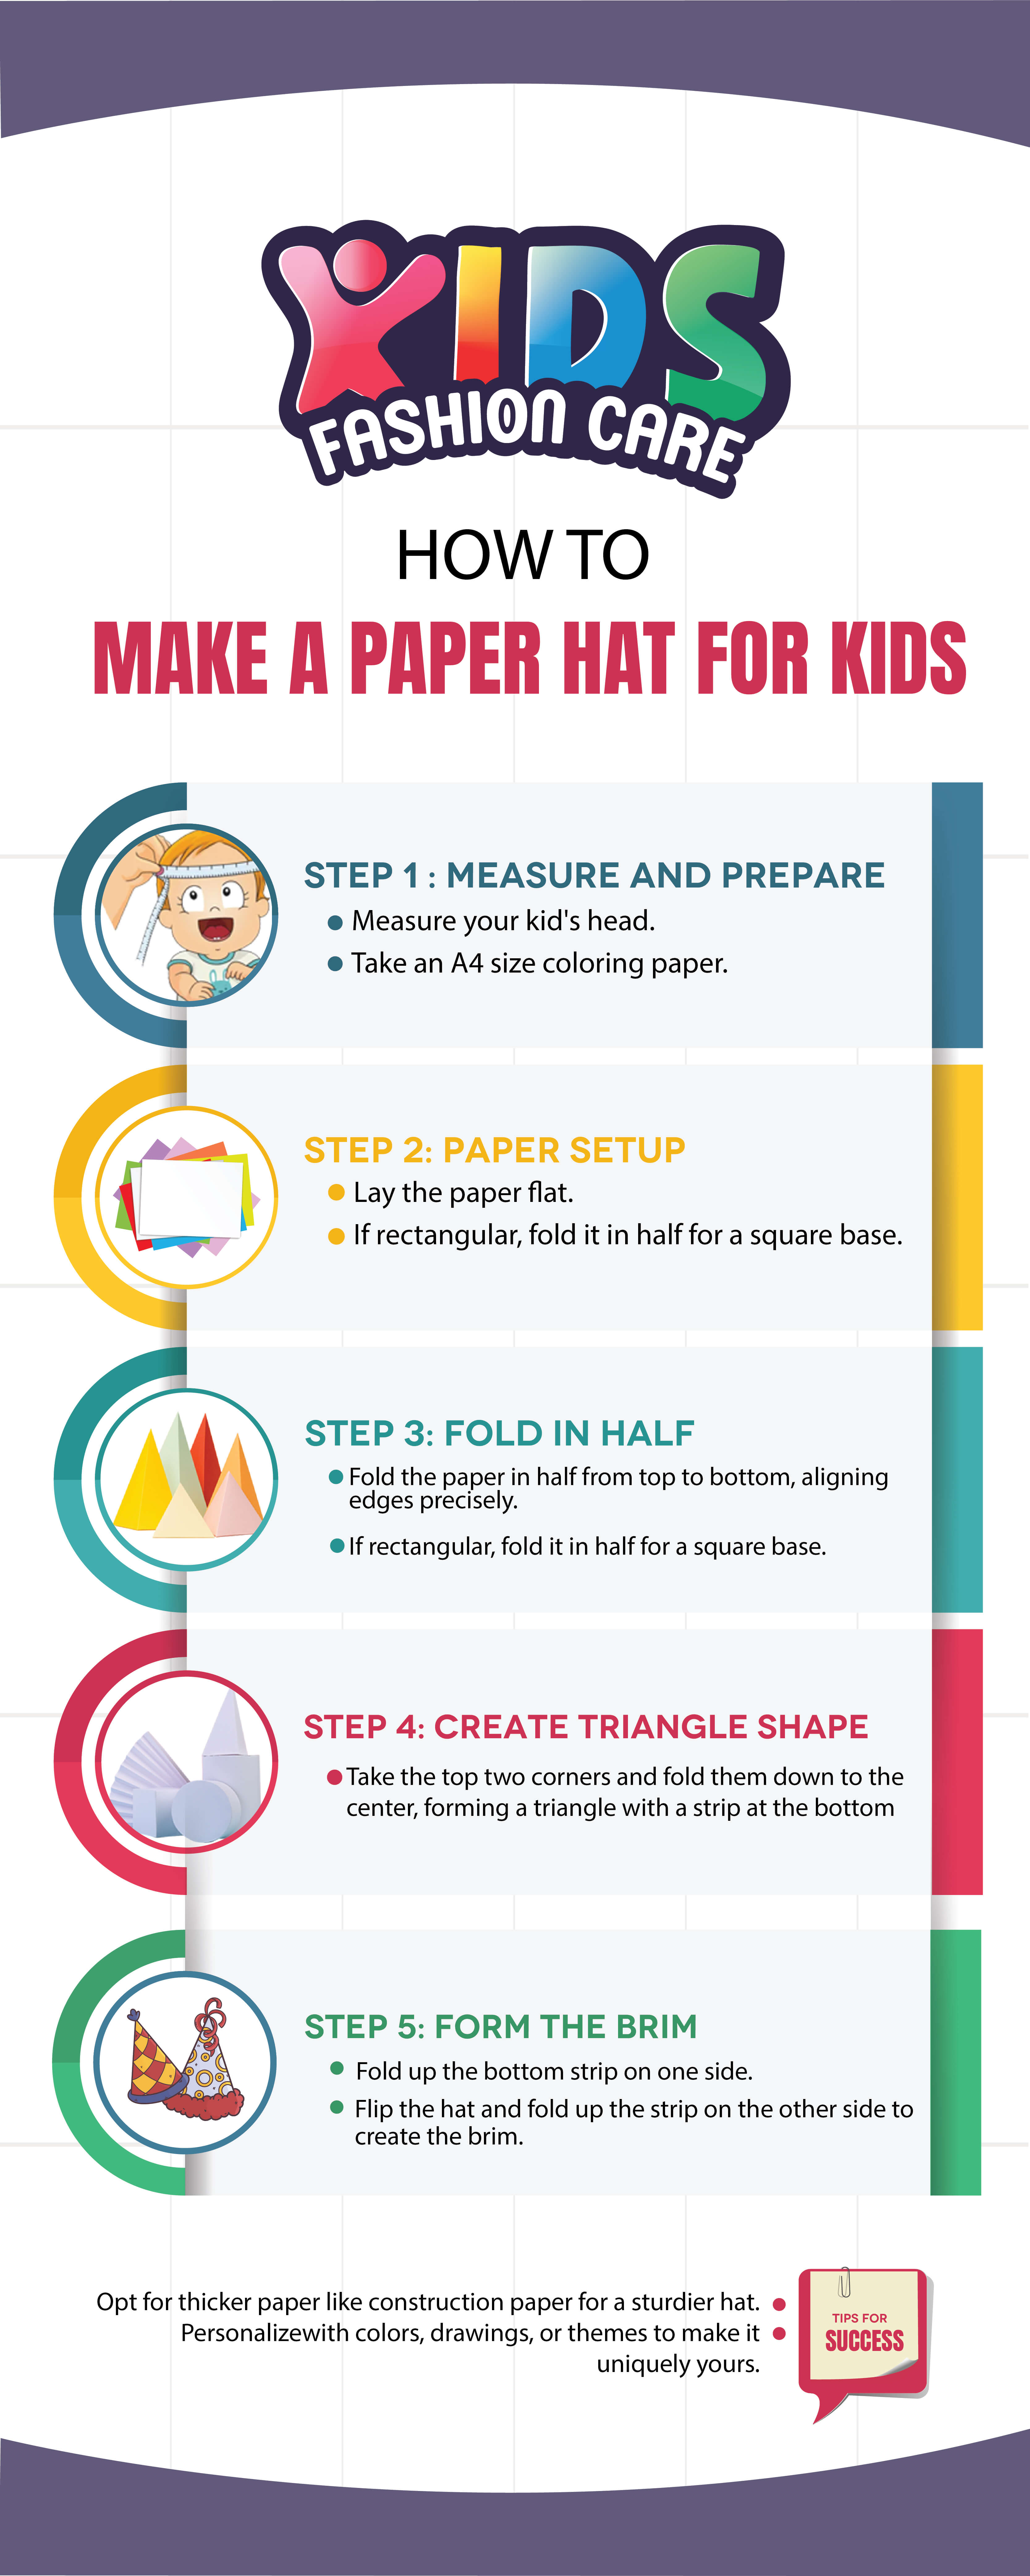
To make a paper hat for kids, take a piece of rectangle paper. Do a 2-fold in the paper. It will look like a smaller rectangle. Then, bring the top 2 corners down to the fold near the middle, somewhat in a triangle shape. Then fold the bottom upwards on both sides. And that’s the easy way to make a paper hat.
Paper folding, known as Origami— is a thousand-year-old art invented in Japan. It benefits both old, young, and children in a wide range of ways.
Origami helps children develop their brain activities, improves patience, and enhances creativity among them. So, many educational institutes have origami as their part of creativity training.
So, if you are looking to improve your child’s creativity, in this article I will demonstrate how to make a paper hat for kids with step-by-step guides.
Let the fun-work begin.
Ways to Make a Paper Hat for Kids
Equipment Needed
To make paper hats, you will need the following equipment. Have them enough so that you can make each of the ones I have listed because I guarantee you, your kids are going to love them.
- Pen/ Pencil
- Scale
- Scissors, box cutter
- Tape or Stapler
Basic Paper Hat Making
So what type of hat you can make?
The basic paper hats are pretty simple. You can either make a cone by cutting a full round shape. Or make a hat by double folding the rectangular shape paper. Then put the bottom edge upwards on both sides. And you get a hat.
Last month, a group I was involved with in my locality, arranged a paper-crafting party for kids. It was amazing, I felt like I went back to my childhood once again, as elders were allowed to participate or assist the kids as well.
I made a wide range of hats for that event to tweak the fun and made those wear all the attending kids. This was so much fun to look at!
So, what I understood is that paper crafting can be more satisfying and enjoyable for kids if you can add a theme to it.
On that note, I will be showing you the following purpose or theme-based hat-making with a step-by-step guide.
- Paper Chef Hat for Kids
- Paper Sailor Hat for Kids
- Paper Pirate Hat for Kids
- Hat making for school projects (Wizard hat, Magician hat, Party hat with paper) etc.
Paper Chef Hat for Kids
If your child is interested in kitchen work with you; you can make a chef hat for him/her. Let’s know how to make a paper chef hat for kids.
Step 1: Measure your child’s head with a measuring tape.
While noting down, add 2-3 inches more to the number. This is the measurement of the hat’s brim, it’s better to have it somewhat large rather than too fitting.
Step 2: Take a piece of paper. If it’s A4, consider taking 2 pieces of them and add them together with glue or tape.
Step 3: Divide the paper into 3 pieces horizontally.
Here’s the idea. You can either choose to divide these 3 sections equally, each part with the same measurement. Or you can keep both side’s measurements the same, and the mid-portion large.
Step 4: Fold both sides together, aligning them with the measurement, and then glue them.
Step 5: Now, this leaves the mid-section open; cut several stripes there, as shown in the image.
Step 6: Once it’s done, glue both sides together.
And there you have it, a chef’s hat made with paper for children.
Paper Sailor Hat for Kids
Want to make a sailor hat or a captain hat with paper?
Here is the step-by-step guide on how to make a paper sailor hat for kids.
Step 1: Take a piece of rectangular paper. And fold it in half. Once it’s done, then fold it once again into half.
Step 2: Now, take one of the top corners and position it towards the middle.
Then, press over the fold to make the crease sit on the page correctly. It will form a triangle.
Step 3: Not fold the bottom part upwards on both sides.
Add the paper corners with tape or glue.
And that’s it, your sailor paper hat is ready.
Paper Pirate Hat for Kids
Who doesn’t know Jack Sparrow, the legendary pirate? And kids who know would like to cosplay like him. The reason is mostly due to the pirate look. You can hype up the fun for kids by making pirate hats.
There are different ways you can make pirate hats for kids. Dive right in to learn how to make a paper pirate hat for kids.
Pirate Hat Through Sailor Hat
One method is similar to a paper pilot hat or captain hat, as shown above. Just paint ‘Jolly Roger’ to add more realism to it.
Making Pirate Hat with Template
Step 1: You will find many templates online. Download any of them.
Step 2: Take 2 pieces of paper and make the exact 2 copies of the downloaded template on the papers.
Step 3: Now use glue on the verge of the cutout. Once done, attach them.
The pirate hat is ready. You can draw a skull to finalize the look.
Making Tri-Corner Pirate Hat With Paper
Step 1: Take a piece of paper and cut it into a large triangle.

Step 2: Around the middle position, place a bowl or use a compass to make a circle. Then cut it.
Step 2: Take another piece of paper. Place the same bowl or put the same measurement for a round shape. Then cut it.
Step 3: Place the triangle on top of this paper bowl and add these two shapes together with glue.
Step 4: Now roll the corners of the triangle towards the centre point. That’s it, the hat is ready.
Hat-Making for School Projects
Children are taught to make a wide range of paper hats in school as part of their assignments. So, let’s learn some of the most common paper hats from different school projects.
How to Make Paper Wizard Hat or Cone Hat?
Step 1: Take a piece of paper. Make sure the paper is twice as big as the hat you will be making. If you plan to make a 10-inch hat, take a piece of paper 20 inches in length.
Step 2: Draw a half circle on the wide side with a compass or any round-shaped items. The circle should also better be larger than the size you will make the hat.
Step 3: Once you draw the circle. Now cut it according to the measurement. You will have a half semi-circle like this.
Now roll this half-circle into a cone. Use glue or a stapler to add the edges.
Step 4: Take another piece of round paper and put your cone in the middle of it. Cut it according to the size of the cone.
Step 5: Then cut tiny edges at the open side of the cone, as shown in the picture below.
Now place your cone on it and tape it from inside.
And your wizard hat is ready to wear.
How to Make Magician Top Hat or Snowman Top Hat?
Step 1: Take 2 types of paper, one square one, and another rectangular one.
Step 2: Take measurements of your child’s head. Now, roll your rectangular page according to that size.
Step 3: Draw 2 circles on the square-sized paper. One is similar to the size of your roll, and the second one is larger.
Use a box cutter to cut out these round shapes.
Step 4: Take those round shapes and attach them to each side of the hat with tape.
The magician paper hat or snowman paper hat is ready.
How to Make Party Hat?
Step 1: Take several colourful pages and draw circles on them.
Step 2: Cut those circles and make a cone with them.
Step 3: With tape or glue, add laces on the cones. And your party hats are ready. You can design it as you wish to create a party vibe.
What More Can I Make With Papers?
There is a wide range of things you can make with paper, not only for children but for toddlers as well.
Paper Flowers
Take several pieces of colour paper. Now, cut them into tiny shapes of petals, round or thin stripes, whichever you see fit, all in one size. Then, you can glue them together.
Moon and Stars: You can help your child draw the moon. To be on the safe side, cut them yourself.
Paper Mushroom
- Make a wide cone with your round shape paper.
- Make a roll with another rectangular piece of paper.
- Glue them together, and that’s it.
Paper Plane
Take a piece of paper and fold it in half on the longest side. Then, make a triangle on the top by bringing the top to the corner to the middle fold section. Then fold it. To bring out the wings of the plane, do a half-fold on the opposite side.
Paper Toys
You can make a wide range of paper toys and dolls. You can also download different cartoons, princesses, or heroic characters and print them out. Once you have received the printed version in your hand, you can cut the sides to make cutouts of the characters. Those will be another fantastic item for your child to spend time with.
You can also make butterflies, caterpillars, fish, confetti, masks, and so many toys with paper for your children.
Giant Items
One of my acquaintances has done something that really astonished me. He was having a kid’s birthday party arranged. He made a car out of cardboard for his kids. That made the baby’s day.
Paper Chain
Cut your paper into several stripes. Make sure those are all in the same size. Once done, take one piece and add two ends with glue. You get one piece in a round shape. Then, take another piece of paper, enter it on that shape, and glue it. Continue the process as long as you have paper stripes.
If your child is asking you to make something that is way more time-consuming, take your time, each step one day. How?
Let’s say your child is asking you to make a robot with cardboard. Then, you can lift his/her spirit by doing one part every day. You can make the head today, hand tomorrow, and torso the next day by making the work engaging for him/her.
Those are generally DIY projects, but I recommend you do the cutting if your children are not old enough to manage scissors or box cutters by themselves.
Frequently Asked Questions (FAQs)
Question: What kind of paper do you need to make a paper hat?
Answer: You can use any type of paper to make a hat with paper, newspaper, A4 paper, construction paper, colour paper, anything. What counts is the fun and the final results out of it; there is no obligation about it. But if you are using newspaper, I recommend colourizing the hat afterwards.
Question: How to make a baby hat out of paper?
Answer: Follow the methods above to make a baby hat out of paper. But I suggest if you are making the hat for a toddler, do it with a piece of garment, as this will also be soft and comfortable for them.
Question: Can I use a single sheet of paper to make a paper hat?
Answer: Of course, you can use a single sheet of paper and make a paper hat by applying the methods I have shown above. But this will be somewhat smaller in size.
Conclusion
So, there you have it— different ways to make paper crafting easy for children. Paper crafting is fun, and in the time of modernization, if you don’t want your kids to be addicted to mobile phones, get them busy with this art.
Making something with their own hands will please them, and you get the time utilized efficiently. Also, participate with your kids. Enjoy the time with them to create more memories. Happy crafting!
